Showing posts with label whirly-gig. Show all posts

Saturday, December 31, 2016

Whirligig wind spinner

I take a lot of walks through the little town in which I live. From spring through fall, gazing balls, wind chimes, plant stakes and all other manner of garden-variety art abound in this little borough. I love seeing the personal touches on the homes of people who put extra care into their dwellings. My favorite pieces of outdoor art are the ones that are meant to catch the wind and spin around displaying mesmerizing patterns. When the theme for this month's showcase for the PCAGOE (Polymer Clay Artist's Guild of Etsy) was decided to be outdoor art, I was fairly set upon coming up with a wind chime or a wind spinner design.

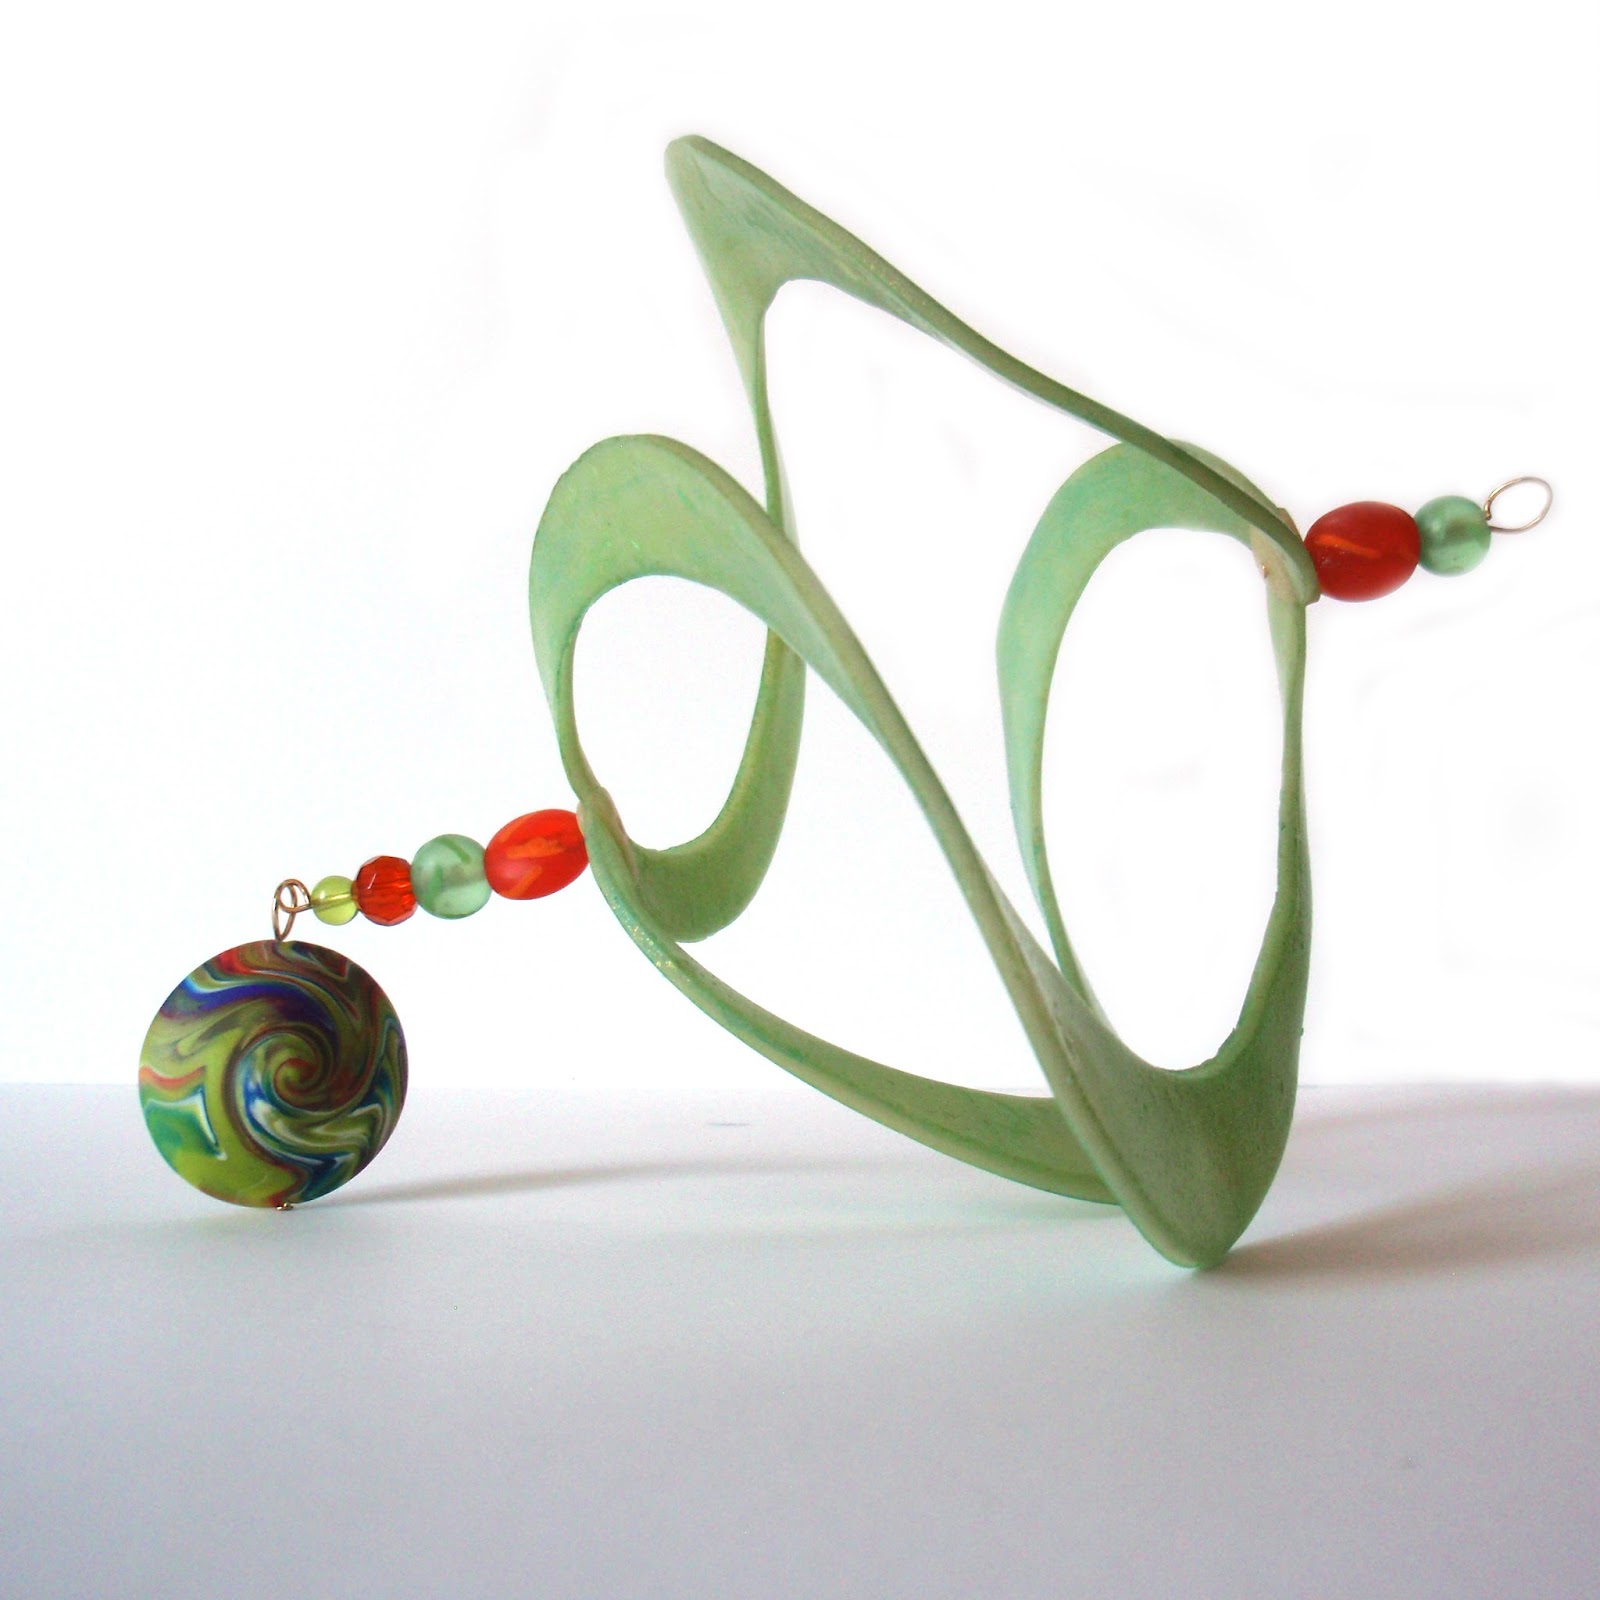
I came up with this three sided mobius design after observing some whirligig wind spinners in a shop. I figured that it could easily be done in polymer, and wanted to give it a try. It took a trial and error session for me to figure out how to construct the piece... still not sure what I'm going to do with the first iteration, which was more error than trial, Ha, Ha! After working out most of the kinks of that first iteration, this little sea green one was born.


The polymer mobius part is only about 6" in diameter, so it's not a very large piece, but still large enough to catch the eye. I decided to add a large polymer clay swirled lentil bead at the bottom and coordinated some glass beads for more decoration. 


I love how the swirly lentil bead echoes the swirls of the mobius, and I believe that I will incorporate that feature into future iterations of this design. I do plan to make more of these, because I really love the idea and the look of this piece. I am also considering creating a project tutorial of these for selling in my etsy shop. Lots of ideas are spinning around in my head, must be the whirligig influence! ;)

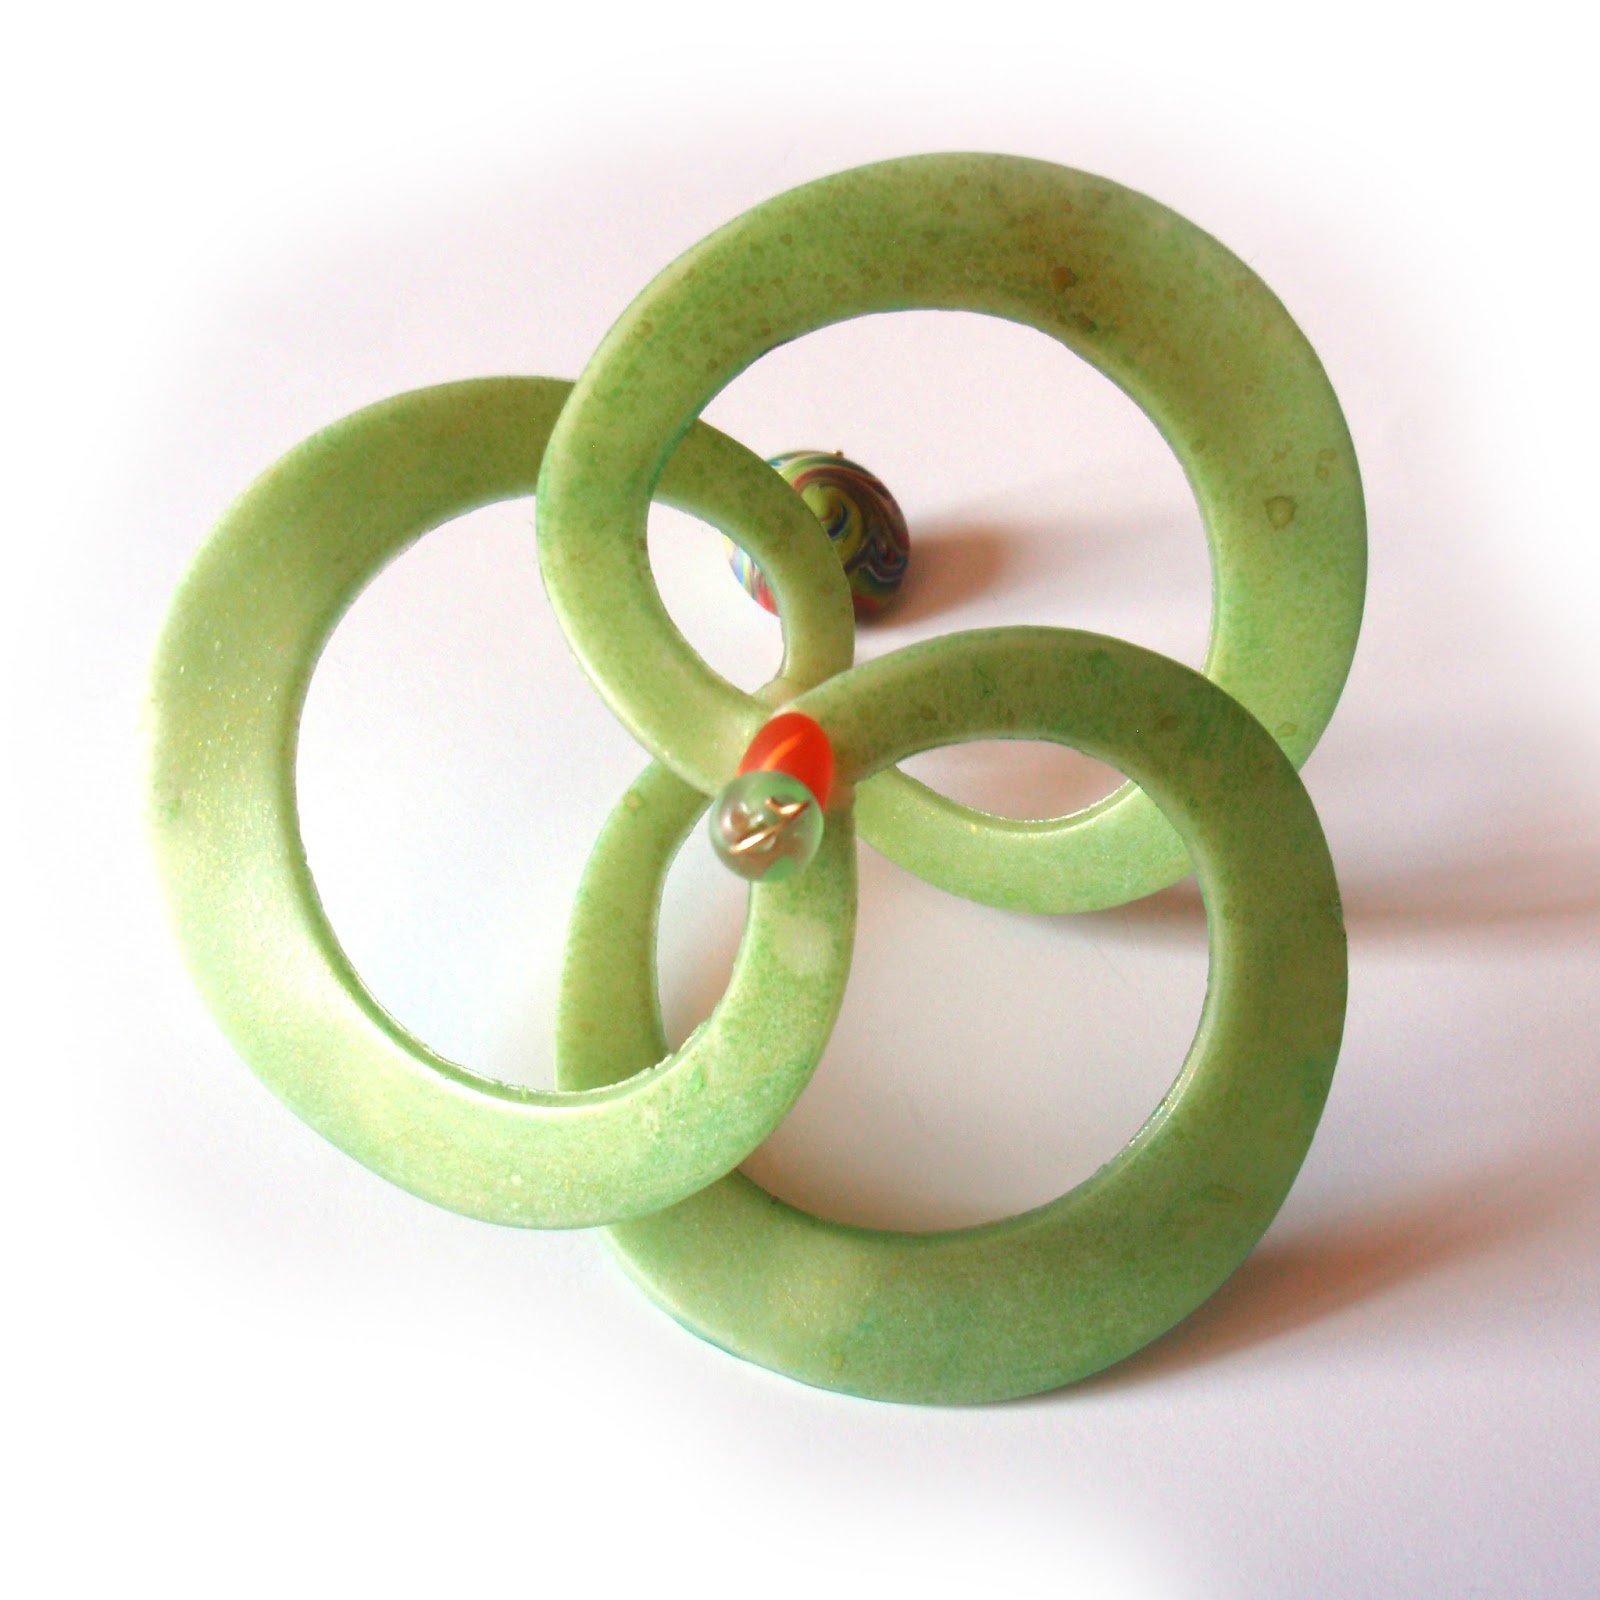
With those hopes of creating more of these whirligigs (and also a tutorial for them), I'm reminded of my hopes for the new year. Once again, my #1 New Year's resolution is that I want to spend more time in my studio creating. While I really plan to focus much of my energy on larger-scale art pieces that I've been dreaming up (just for the sake of making myself happy and decorating my studio space), along with those wishes comes the hope that I'll also find time to create some smaller items to put in my etsy shops.... sigh, if only reality will work with the schemes in my head! For anyone who's curious, here is the top-down view of the whirligig:
So, what do you think of my latest project? Is this something you'd be interested learning the details of how to make and construct? Do you have any New Year's resolutions that you're hoping to carry out in 2017?... leave me your comments below, I always love hearing your thoughts!

Happy Holidays to all during this season of giving. I hope for a Happy, Healthy and Peaceful 2017!

SaveSave

Saturday, April 25, 2015

Punny Phish

I have been wanting to make a fish for a long time. Ever since I saw the wonderfully inspiring fishes of Jon Anderson. Since then other polymer artists' fishes have further fueled the fire... Arty Becca's turtlenecked fishes, and recent examples I've seen on Facebook from various artists. PCAGOE decided to do a fish theme for May 2015. So, I have been thinking about this theme for my guild's challenge for quite a while.


When considering this challenge I knew that I wanted to use Ginger Davis Allman's Holo effect to create iridescent scales for my fish (you can find where to get her tutorial in the link above). Well, about a month or so ago, I found an inspiration at one of my local thrift stores. It was one of those whirly-gig wind decorations, this one was just straws that graduated from small to large then back to small.... they were all woven together down the center, so that when twisted, it would create a helix. When I saw it, I knew I had to recreate something like it using polymer sticks.. and of course, I decided that if I had graduating sticks, they'd have to form a rainbow...


From that idea came the rainbow trout association. But how to combine the holo effect idea with the whirly-gig idea? Well, scales are still present on both head and tail of the fish, and the tail fins are also iridescent... so that's how I decided to pair the two ideas together.


But my realistic nature really wanted to create a realistic head and tail resembling a real rainbow trout... so that's where I headed. Looking back, seeing the parts together here, I think it may have been better if I had made the head and tail as whimsical as the rainbow body... but I'm not completely sure about that. I really love how he looks laid out in a curve, as above. I'm now wondering if I should make one that stays in this curved position... hmmm. ;)


The part that took the longest, actually was the rainbow! I never realized how long that would take... but when one makes a gradation of color, it requires lots of mixing. Almost every stick was it's own special blend of color, and originally there were 82 sticks! .. a couple of them broke during sanding, and a couple of them were pulled because they got a little bigger or smaller than they should have been for their spot on the fish. The sticks were all formed by covering lolly pop sticks with a thin layer of polymer and then adding pointy tips to the ends. After they were all cured, they were all treated to a sanding and a little buffing. I wanted them to be smooth, but not overly shiny, so that meant just sanding from 400 to 600 grit and then buffing.


The initial translucent fish head was formed over a base of aluminum foil that I formed into the shape I needed, and the details of the eyes, gills and mouth were sculpted with more Premo translucent over the initial base. Little polymer circles, which were treated to Ginger Davis Allman's holo effect in iridescent green, gold and white, were then adhered with bonding agent. After a curing of the entire head to ensure a strong bond of all the scales, I then added some alcohol inks and some polymer based paints that I have to add depth and coloring to the translucent part of the head. Some spots of black acrylic paint finished him off and I finally coated the entire head with a gloss sealer. Here you can see both sides of the head:


The tail was formed (with a hole in the center which was held open by a dowel rod) also using translucent polymer in the area where the scales cover, wire and polymer form the supports for the thin, translucent area of the tail which was also created using Ginger Davis Allman's Holo effect technique. After curing the tail without scales, the holo effect scales were then added to the top of the tail, again using bonding agent. Another full cure to ensure a strong bond of the scales and The entire tail was treated to some alcohol inks for adding depth. The translucent clay areas that were still visible were painted and the black dots were added to make it look like a rainbow trout tail. The entire tail was also coated with a gloss sealer


Next came the woven part. I decided to use red carpet warp thread to warp my loom, to signify the red stripe of a rainbow trout. I started with enough length of woven strap to span the distance of the head interior, then I added each stick in the proper order to create my gradation of both color and size... I finished off the weave with just a couple rows of woven strap. Once I cut the weave from the loom, I was able to secure the head by attaching a heavy gauge wire piece looped at both ends, which became the hanger as well. The tail was a bit trickier to add and secure to the end of the weave. I had to slit the thin area of the tail up one side, so that the thread could be tied and secured tight against the last of the rainbow sticks. You can see below how the threads come out of the bottom of the tail and wrap up the one side, they are then secured around between the last rainbow stick and the tail.


I am quite happy with this piece, really pleased with how easily it came together, even if it did take much longer than I had estimated. From nose to tail, he measures 27" in length. His widest rainbow stick is about 7 or 8 inches wide... so he's a big boy! In hindsight I think he'd be best if his head and tail were more whimsical to match the rainbow, but as I said above, I'm still not certain about that though.... What do you think about my Punny phish? Leave me a comment and tell me what you think! Voting for this challenges opens on May 1st! I'll post a reminder here on the blog when voting is open.